Thank you for joining us for our Stampin' Up!® Demonstrator Training Program Monthly Blog Hop! We are so happy that you could join us today for this blog hop for ideas and creative inspiration.
We are a group of Stampin' Up!® Demonstrators from around the world that are taking part in training that is helping us to build a successful Stampin' Up!® business and reach some goals we have set. We really appreciate your support.
You may be starting here or have come from another blog - either way you can find the link list at the bottom of this post so that you can see every blog post and idea today.
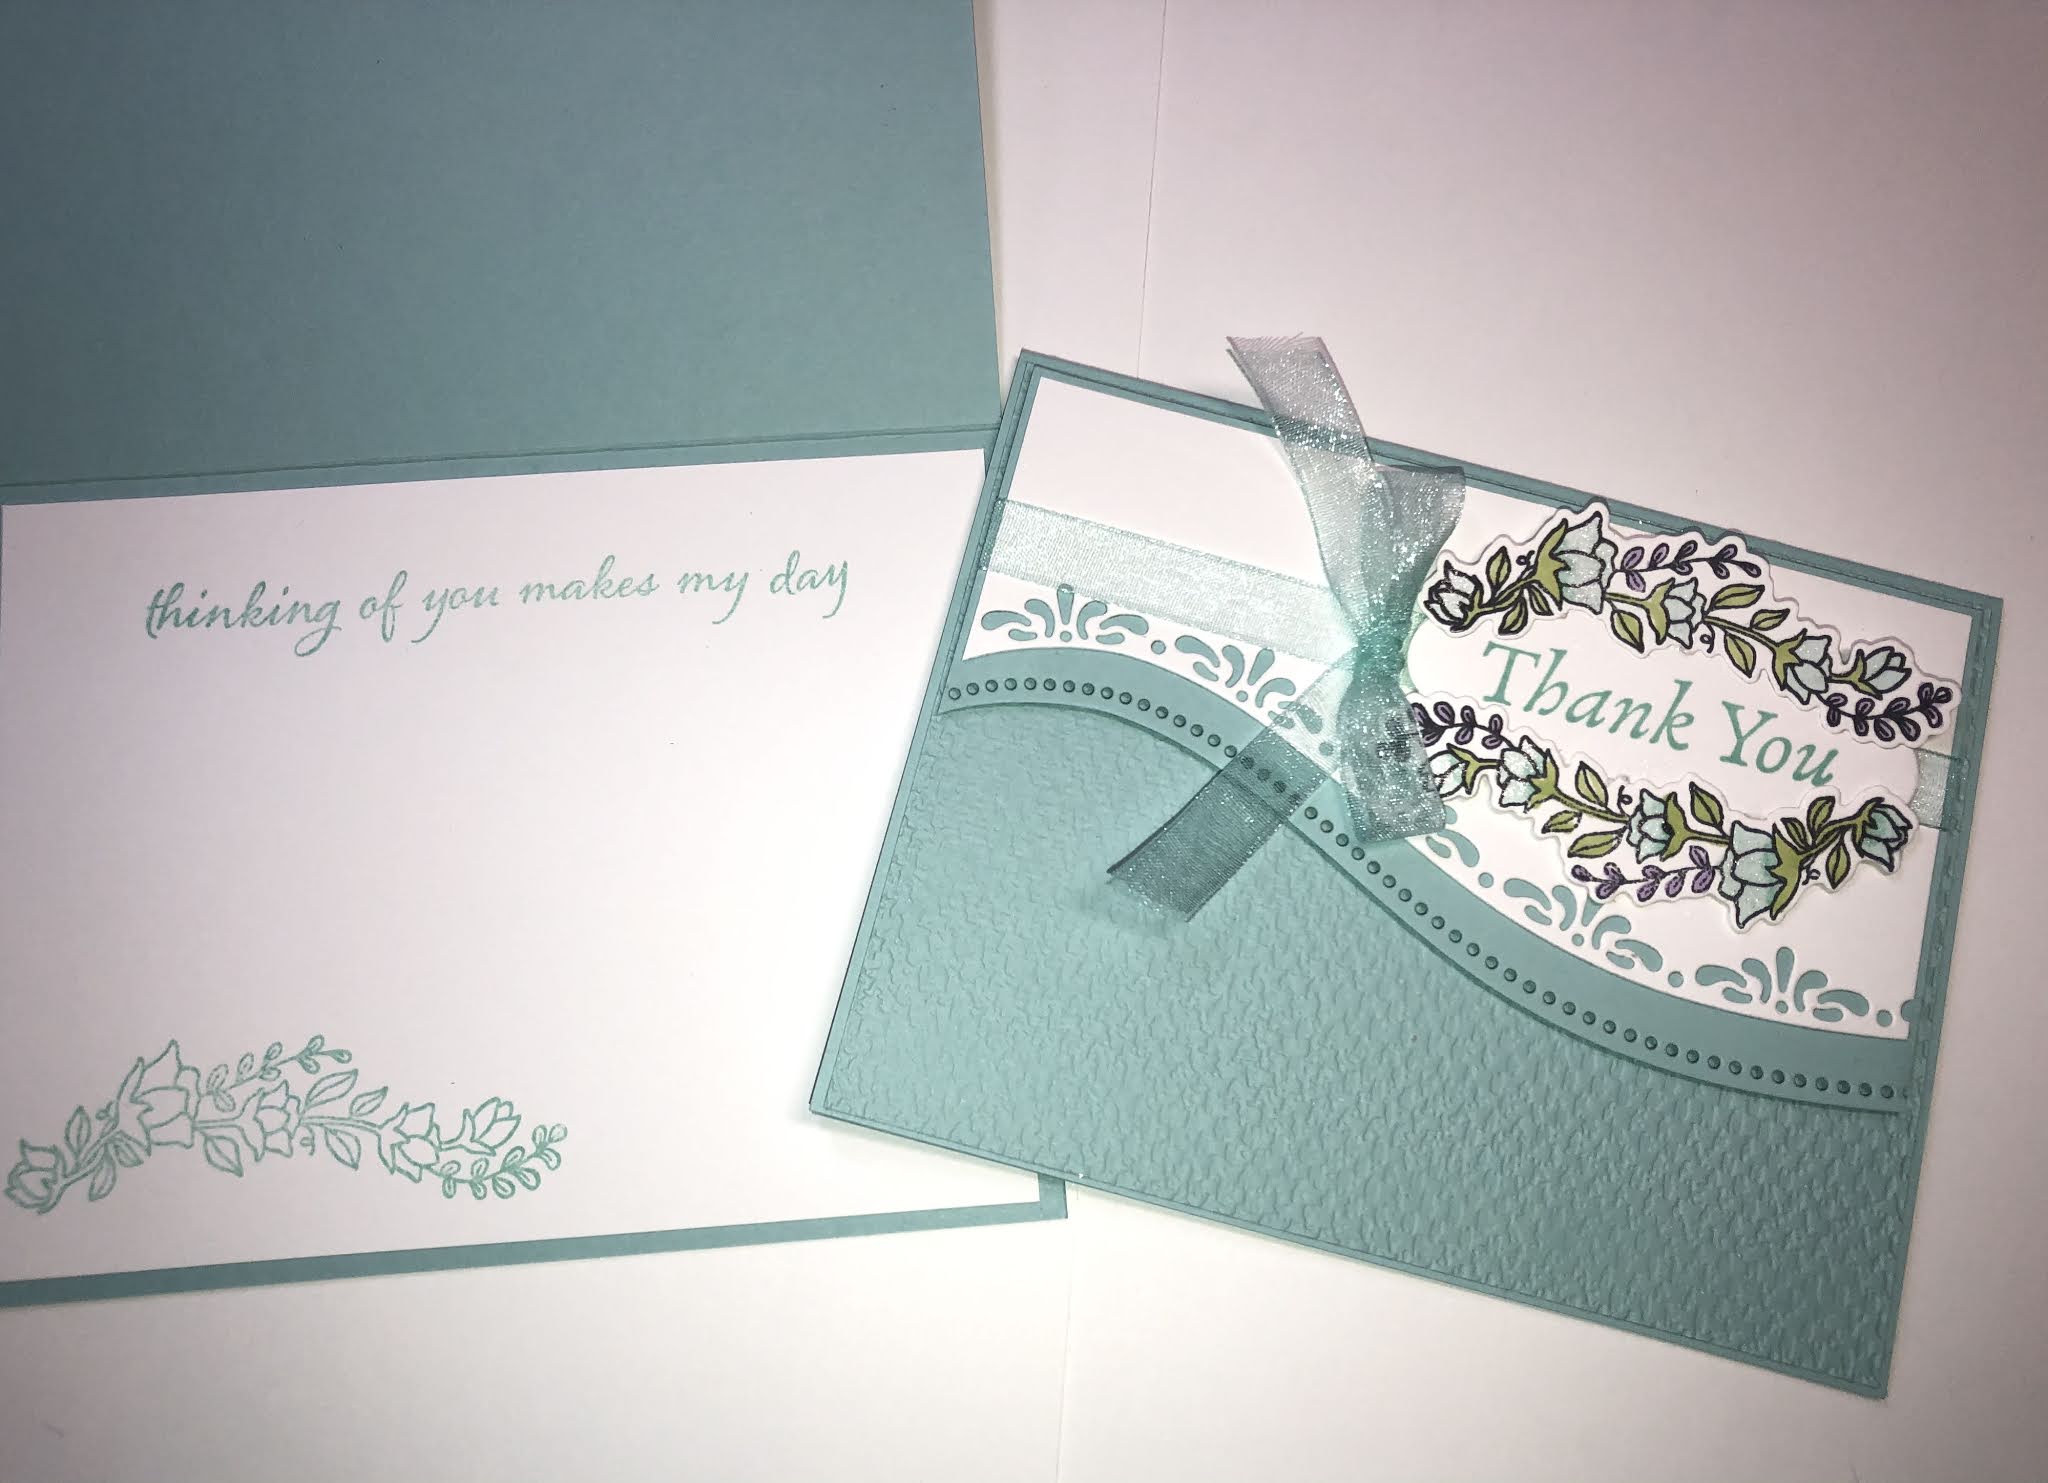
Today’s thank you card is from Color and Contour Stamp Set and Scalloped Contours Die Set. It is just lovely with the 2 different flowers that are 2 step stamping, along with 4 different sentiments and more!
The dies have 5 different size scalloped rectangles dies, as well as the flower dies and scalloped edge die.

If you place an order with me in June 2021, these are one of the cards that you are going to receive to thank you for your purchase! If you are from the USA and do not have a demonstrator, I would love to help you with any questions or anything you may need.

Supplies & Measurements
- Color & Contour Bundle (Photopolymer stamps & dies)
- Basic White card stock 2 - 5 1/4” x 4” plus scrap for sentiment and stamped flowers
- Polished Pink card stock 8 1/2” x 5 1/2”, scored at 4 1/4”
- In Color 6 x 6 DSP assortment 2021 - 2023 (Polished Pink - 6 x 1 1/4”)
- Tasteful Textile 3D Embossing Folder
- Soft Succulent ink stamp pad
- Polished Pink ink stamp pad
- Pale Papaya ink stamp pad
- Genial Gems or 2021 - 2023 or In Color Jewels
- Stampin Dimensionals
- Stampin Seal
Directions
- Using Stamp & Seal, attach Polished Pink DSP strip to one of the Basic White 5 1/4” x 4” approximately 1/2” from right edge, leaving a white strip. Then cut with the largest scalloped die.
- Using the Tasteful Textures Embossing Folder, emboss the card stock.
- Using Stamp & Seal attach the embossed card stock to your Polished Pink card base
- You will need 5 flowers, 4 for the front of the card and 1 for the inside. I used Polished Pink and Pale Papaya for the flowers.
- The sentiment was stamped on the basic white scrap using the 2nd smallest die, and attached with dimensionals.
- Add the 5 1/4” x 4” basic white to the inside of the card and attach a flower
- Embellish with jewels or gems on the front
All Stampin' Up!® products were used to create these cards.
Thank you for stopping by today! Make sure you ‘hop’ around to all the amazing projects on this hop! Click to the links below.
Blog Hop List